
View the tutorial after the jump!
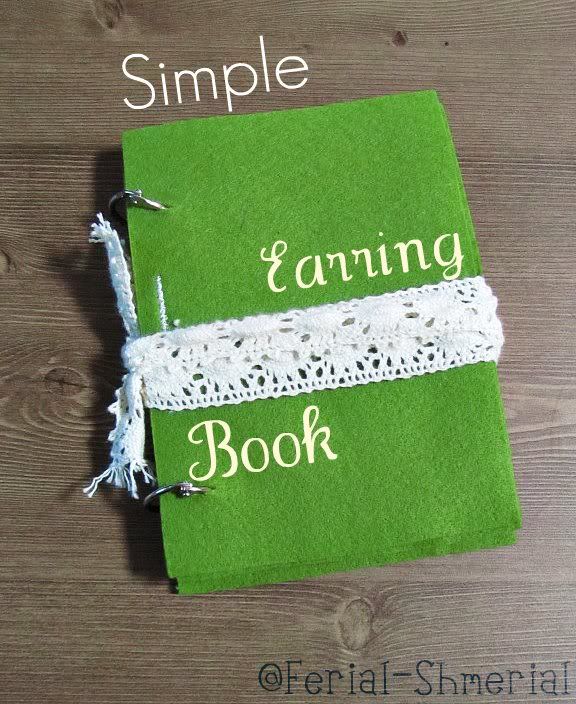
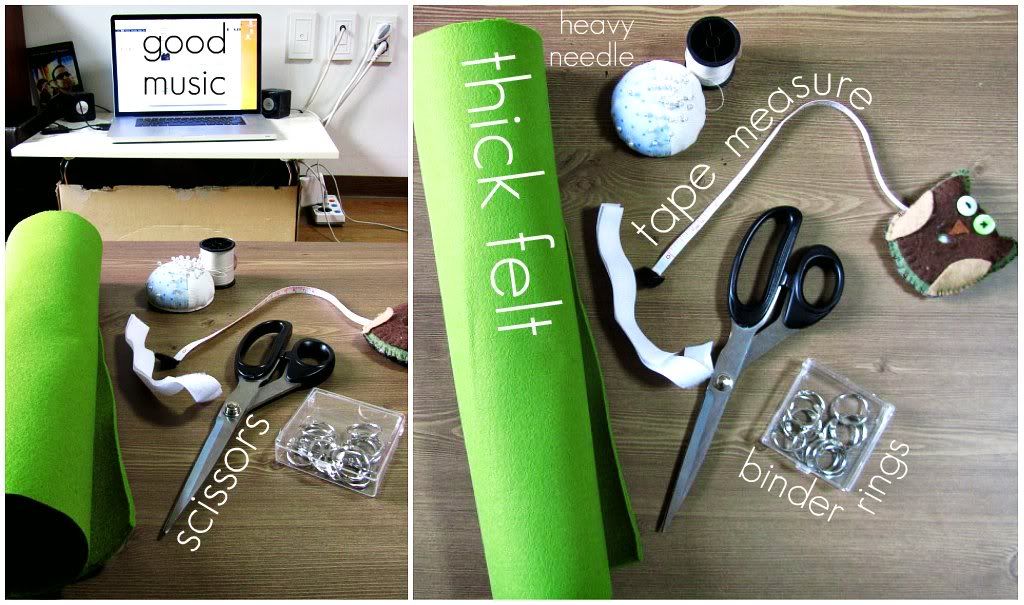
Here's what I used to make the Simple Earring Book:
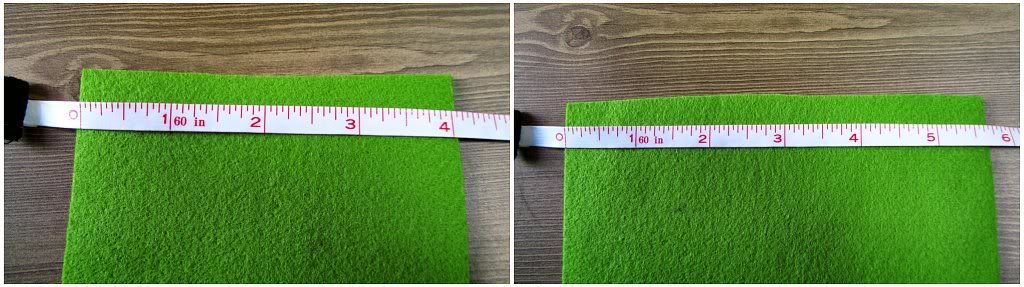
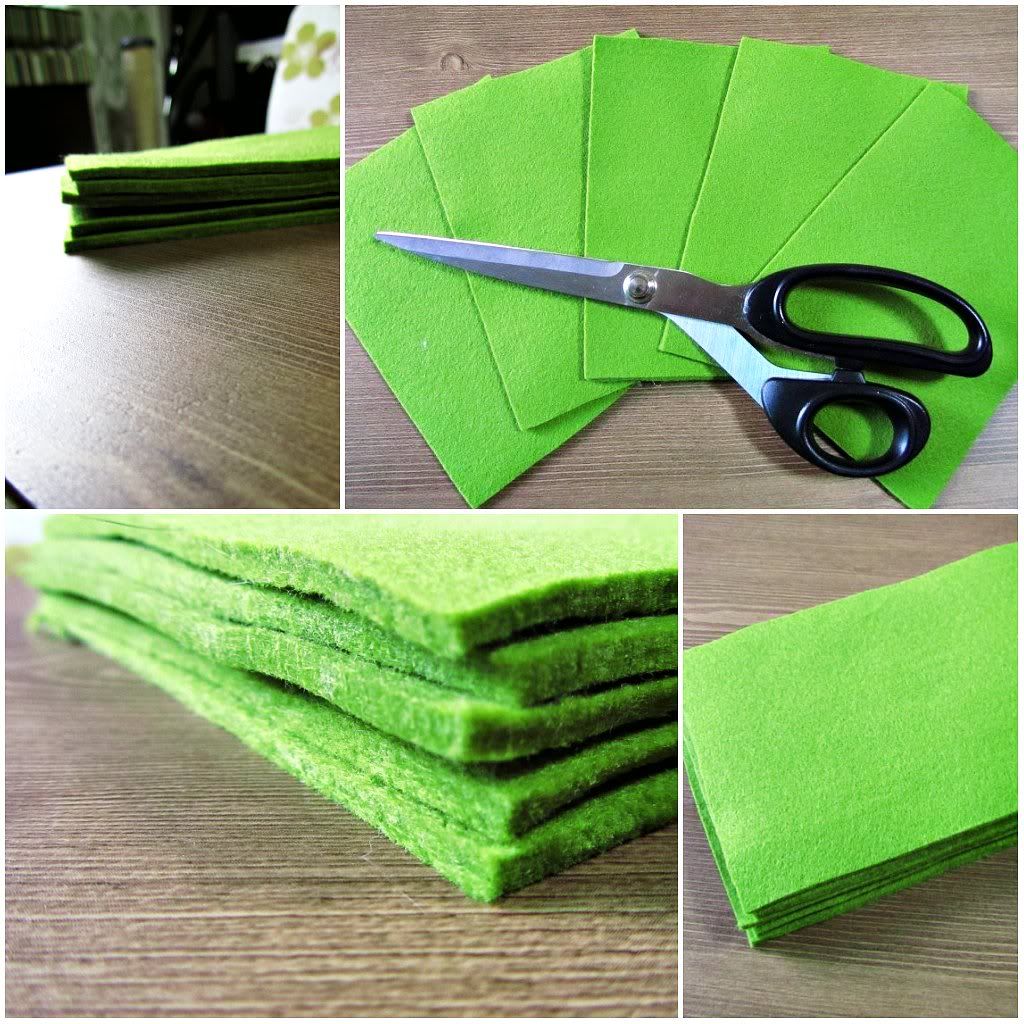
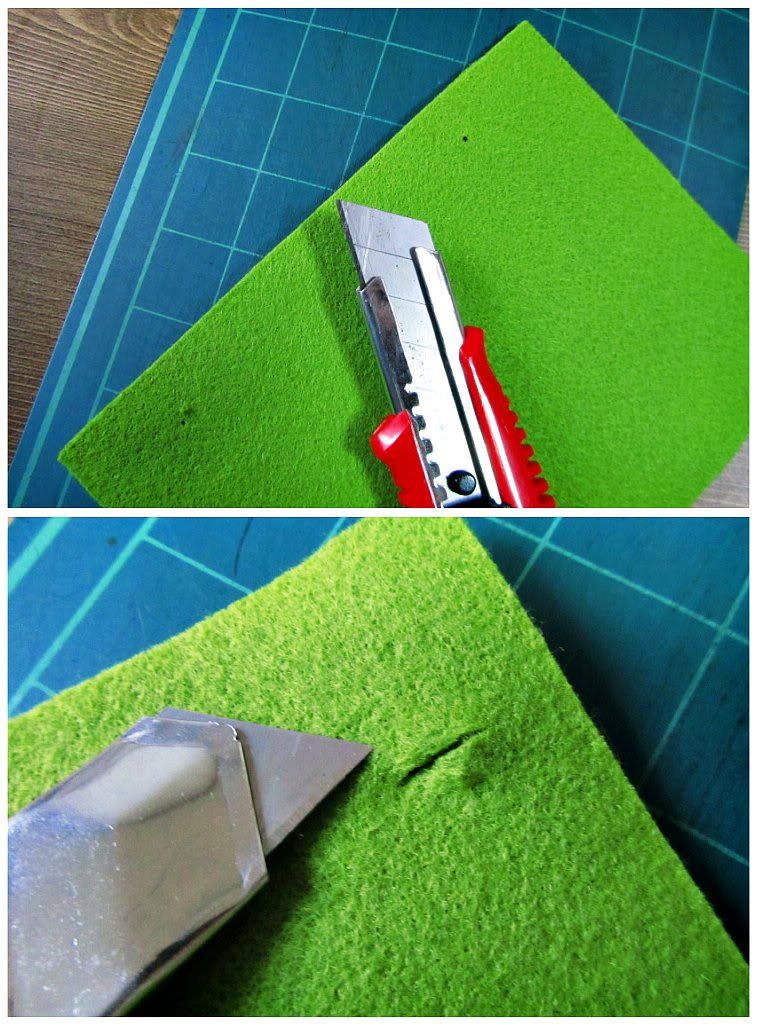
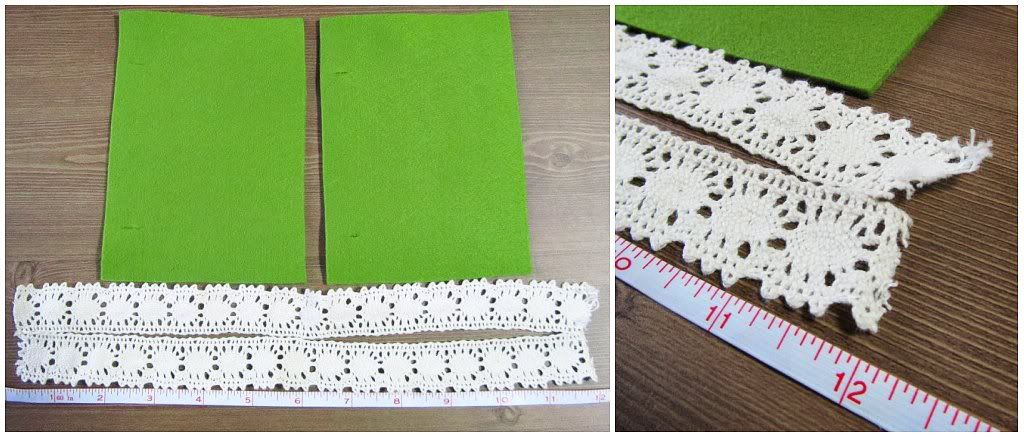
Start by cutting your thick felt into 5 rectangles,
each measuring roughly 4" x 51/2".
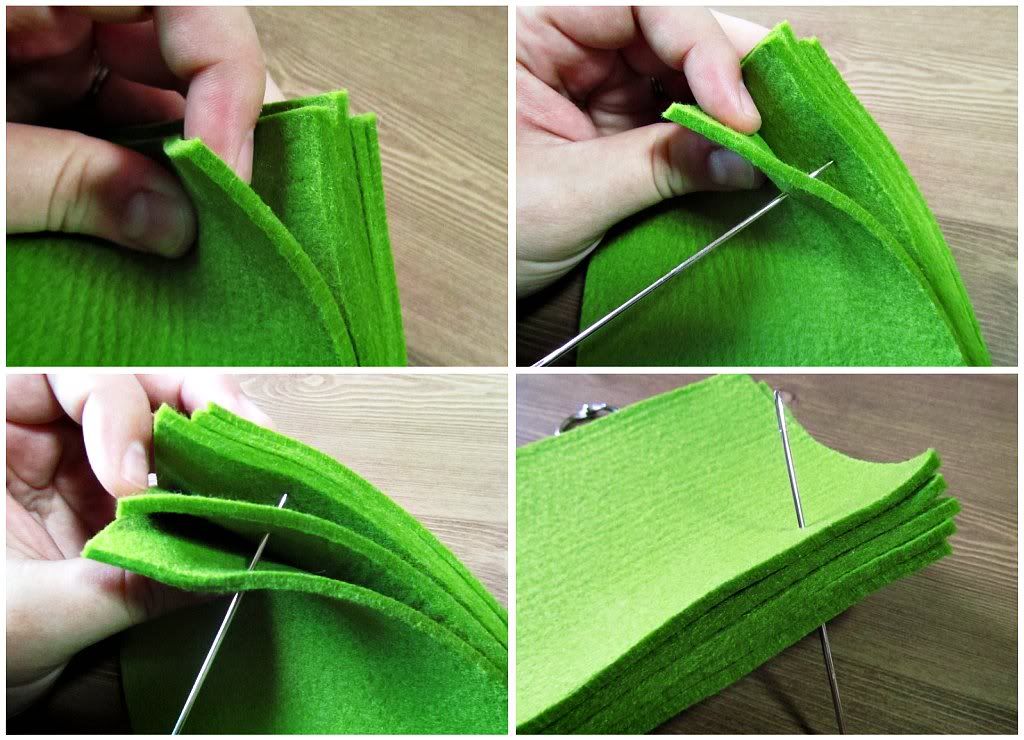
Decide where you'd like your first binder ring placement.
Then, using your heavy needle, begin puncturing holes in the aligned places
through each piece of felt.
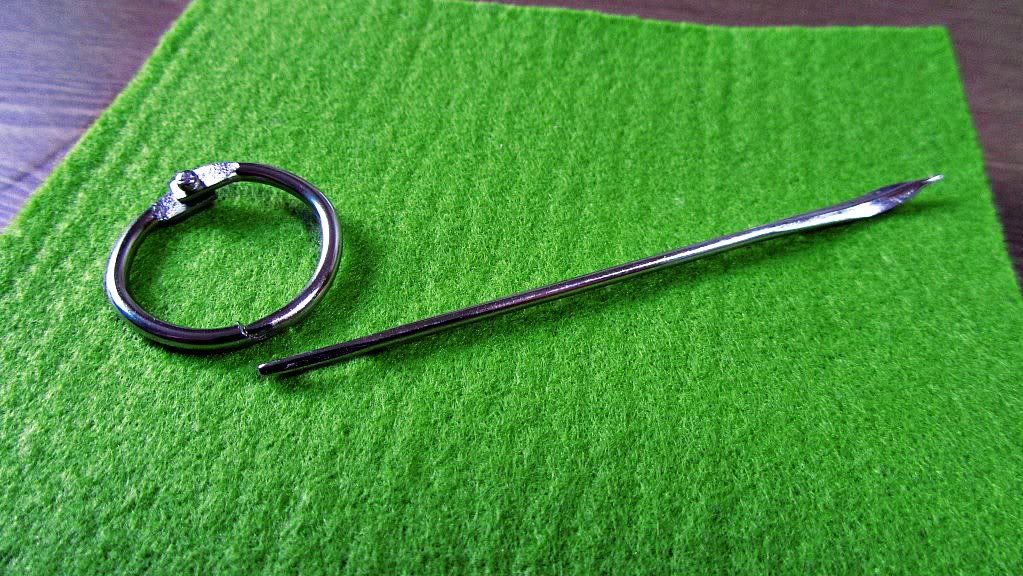
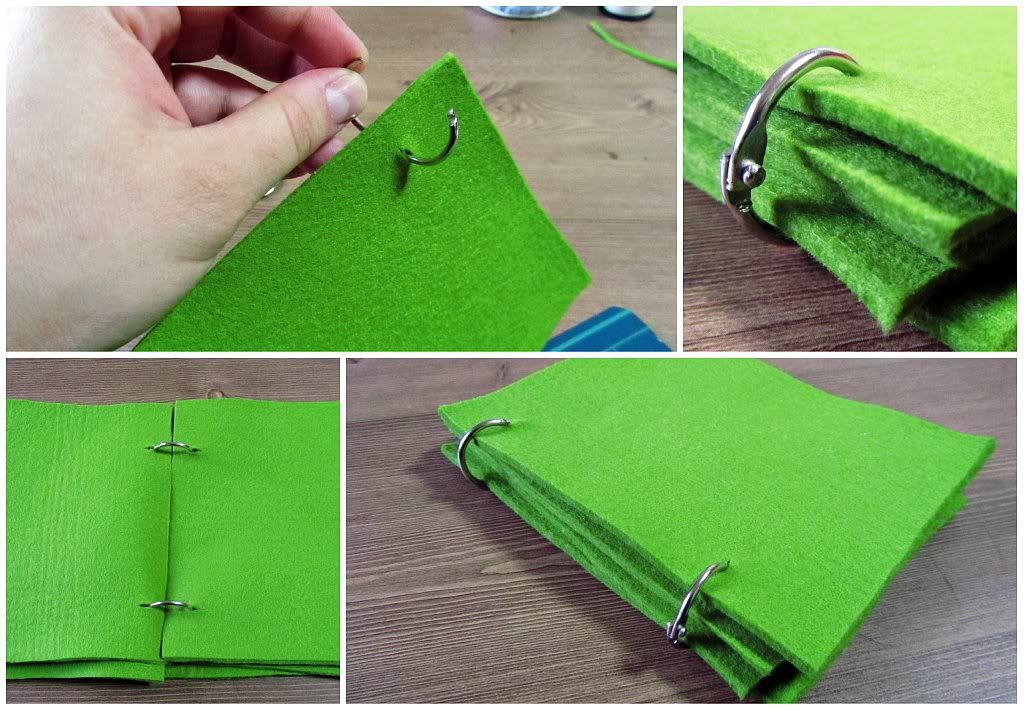
Insert your binder rings on both sides of the stack of felt.
At this point, you could be finished.
But, I decided to attach some pretty lace
as an embellishment and also as a secure closure for the book.
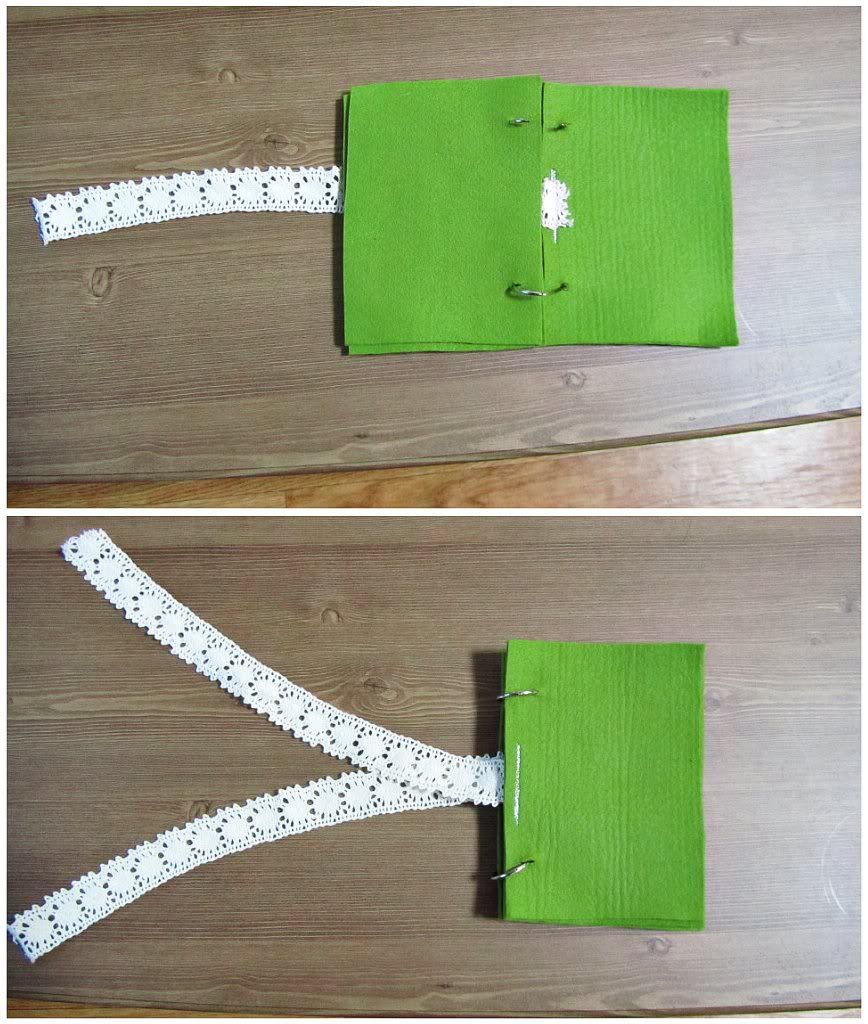
Cut yourself some pretty lace, ribbon, or fabric in two 12" pieces.
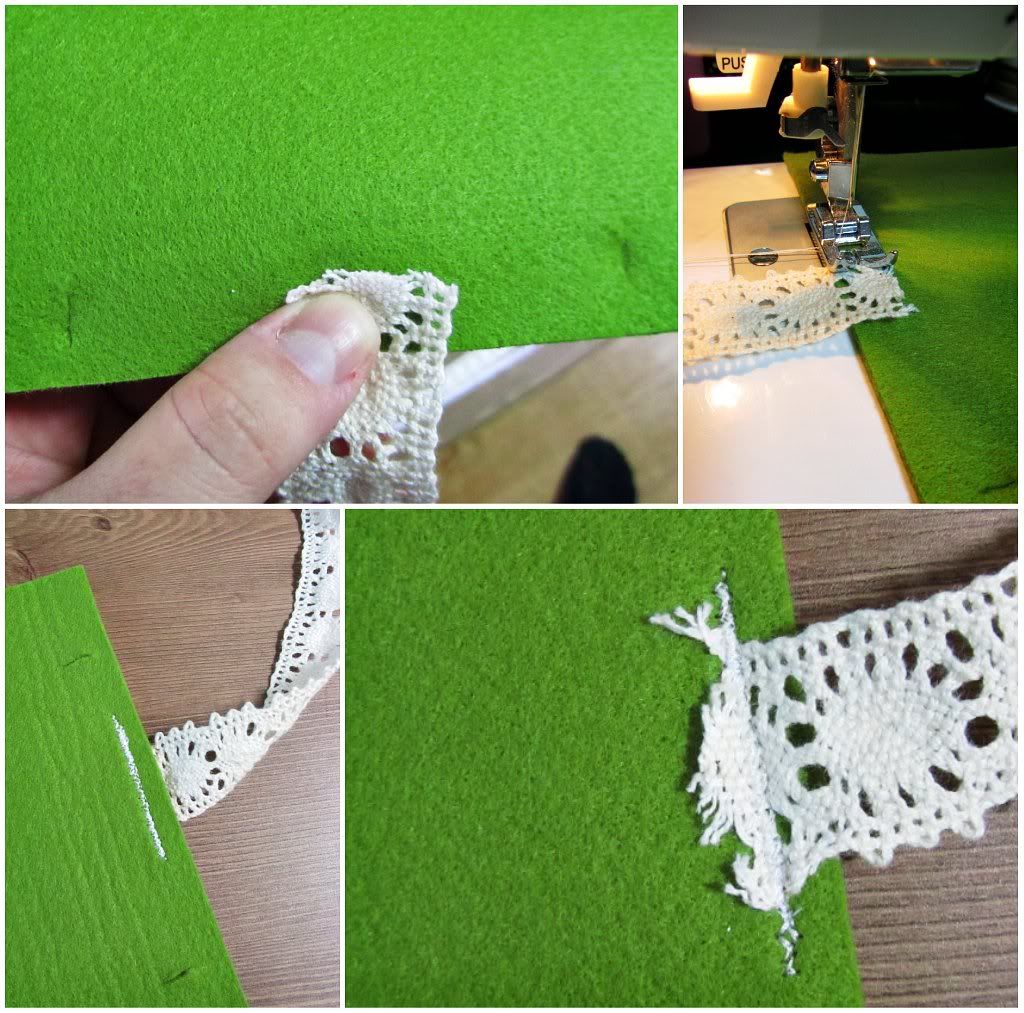
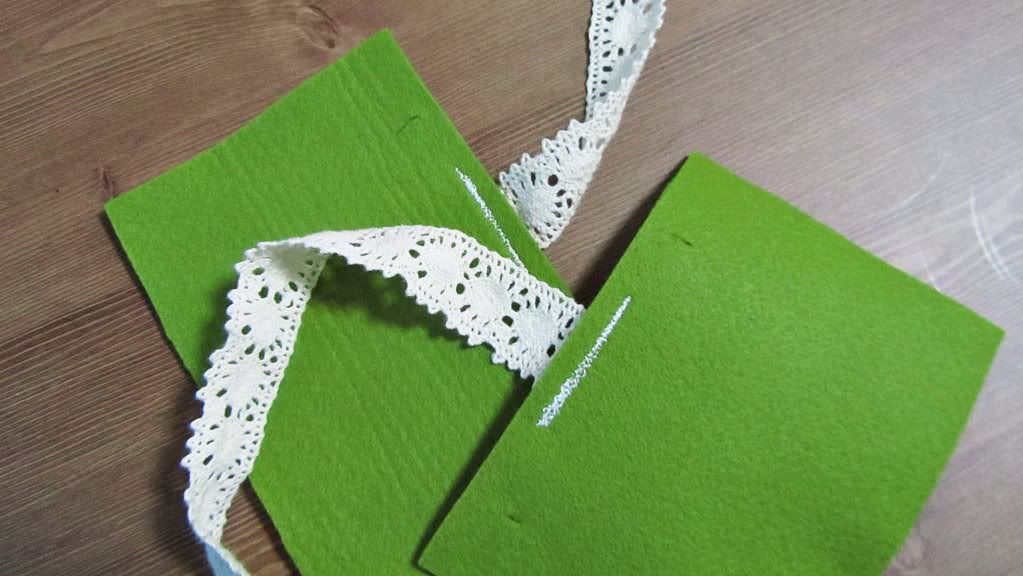
Remove the front and back covers from your book
and attach one piece of lace to each
right in between the two binder ring holes.
(I used my sewing machine and a small zig zag stich
to attach the lace, but you could hand-sew or even hot-glue
your attachments.)
Add your cover pieces back to your stack.
First add your back piece, but slide the lace under the rest of the stack.
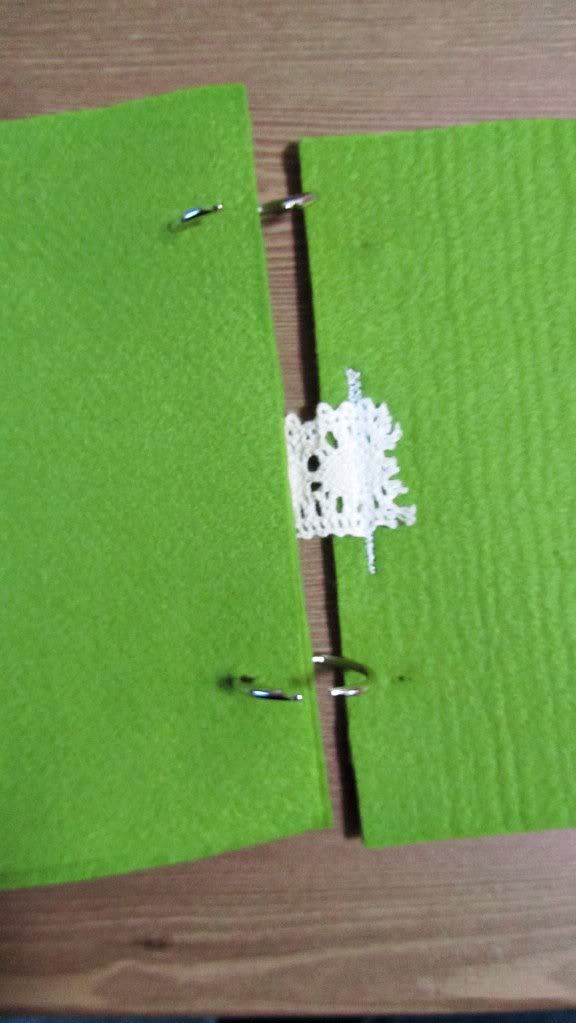
Add your front cover piece on top.
To close your earring book:
cross you two lace pieces in back and bring them around to the front.
You can either tie them at the front right then,
or wrap them around the book again and tie.

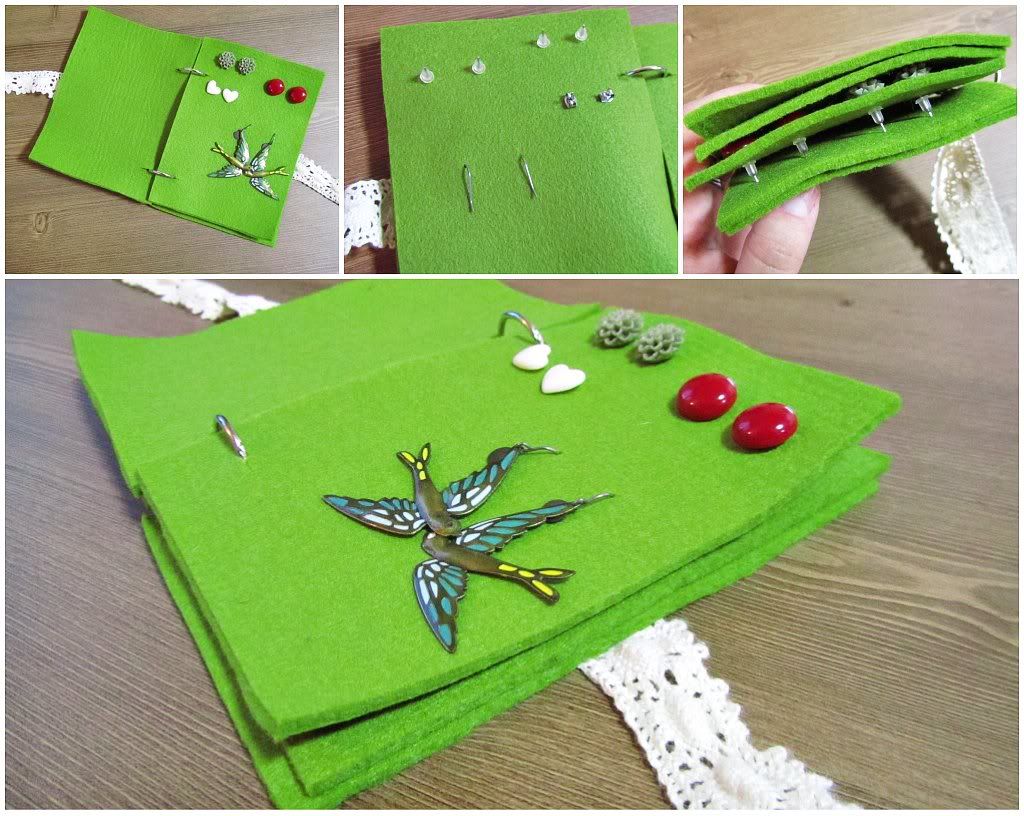
Outside finished!
Use your heavy needle to puncture holes for your earrings
and have fun organizing them!
Your 5 sheets of felt give you 2 cover pieces (front & back)
and 3 interior pieces for earrings.
Happy crafting
&
HAPPY TRAVELING!

Love the tutorial, babe. Great jorb!
ReplyDeleteclever. beautiful.
ReplyDeleteyou are so creative!!! :)
Hi! I found you through your Stuff Christian's Like link. This is SUCH a GREAT idea!! can't wait to read the rest of your blog and become a follower.
ReplyDeleteSo cute and so useful too!
ReplyDeleteHave a safe and fun trip this Thanksgiving!
Great idea! New follower from followers fest!
ReplyDeleteWhat a neat idea! Stopping by from the followers fest & I'm your newest follower! Nice to meet you!
ReplyDeleteWhat a cute idea! Thanks for sharing. New follower from followers fest :)
ReplyDeleteJust saying Hi from Style Outside the Box! We would love to do a link swap with you! :) New Follower from Oct Fest! :) Come say HI at http://www.styleoutsidethebox.blogspot.com/ Don't Forget to Enter Our Blog Fest Contest!
ReplyDelete:)
Genious! Thanks for showing that beautiful tutorial. I love how well it was organized too!
ReplyDeleteSo stinkin clever!!! You are so amazing Ferial!
ReplyDeletegenius! enjoy your trip!! wow! xo
ReplyDelete