
Here's how I did my silhouettes:
Start with printed out copies of the photos (profile shots) you'd like to silhouette.
I took photos of myself, John and Moto against a solid, light background.

You will also need: scissors, an exacto knife (or box cutter) and a laminating machine (optional).

I chose to laminate my photos in order to make for heavier and more stable stencils, but if you don't have access to a laminator it's not a big deal.

After laminating, cut our your photos, very carefully, into the exact shapes you want. Use the knife for harder to reach places.

Trace the shape of your newly formed stencils onto black card stock paper and then cut out the silhouette shapes.


I used a soft eraser to get rid of any leftover pencil marks.

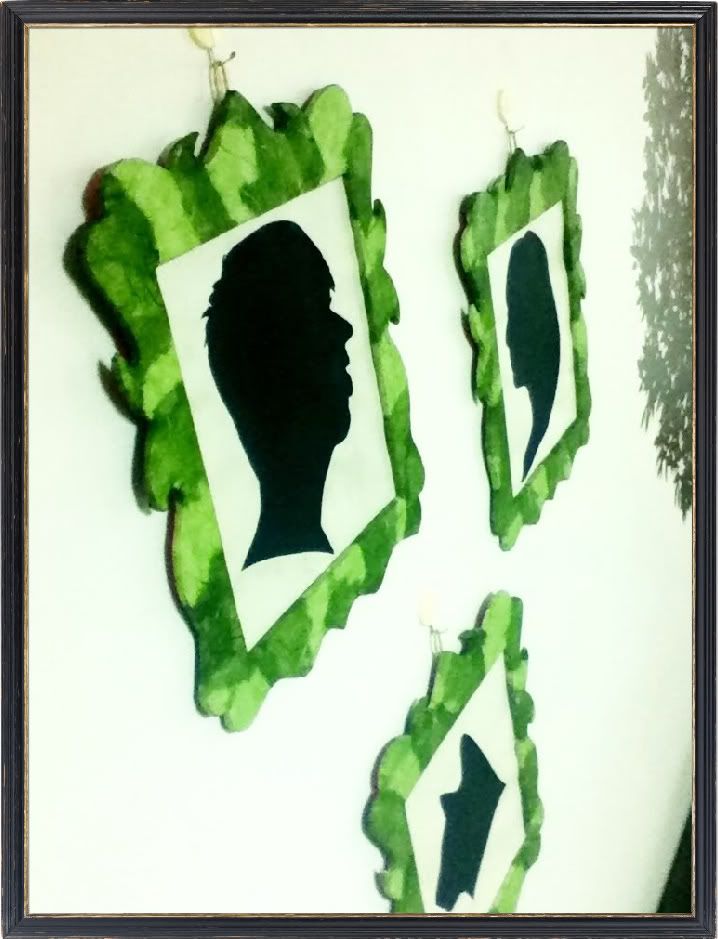
And there you have it! Very simple, handmade paper silhouettes!


Next time on The Silhouette Project, we'll talk about handmade frames...
Links to this post: Spring Into Silhouette Blog Hop
No comments:
Post a Comment
I appreciate your comments so much!
Please click the "Subscribe by email" link in order to be notified of replies to your comment.